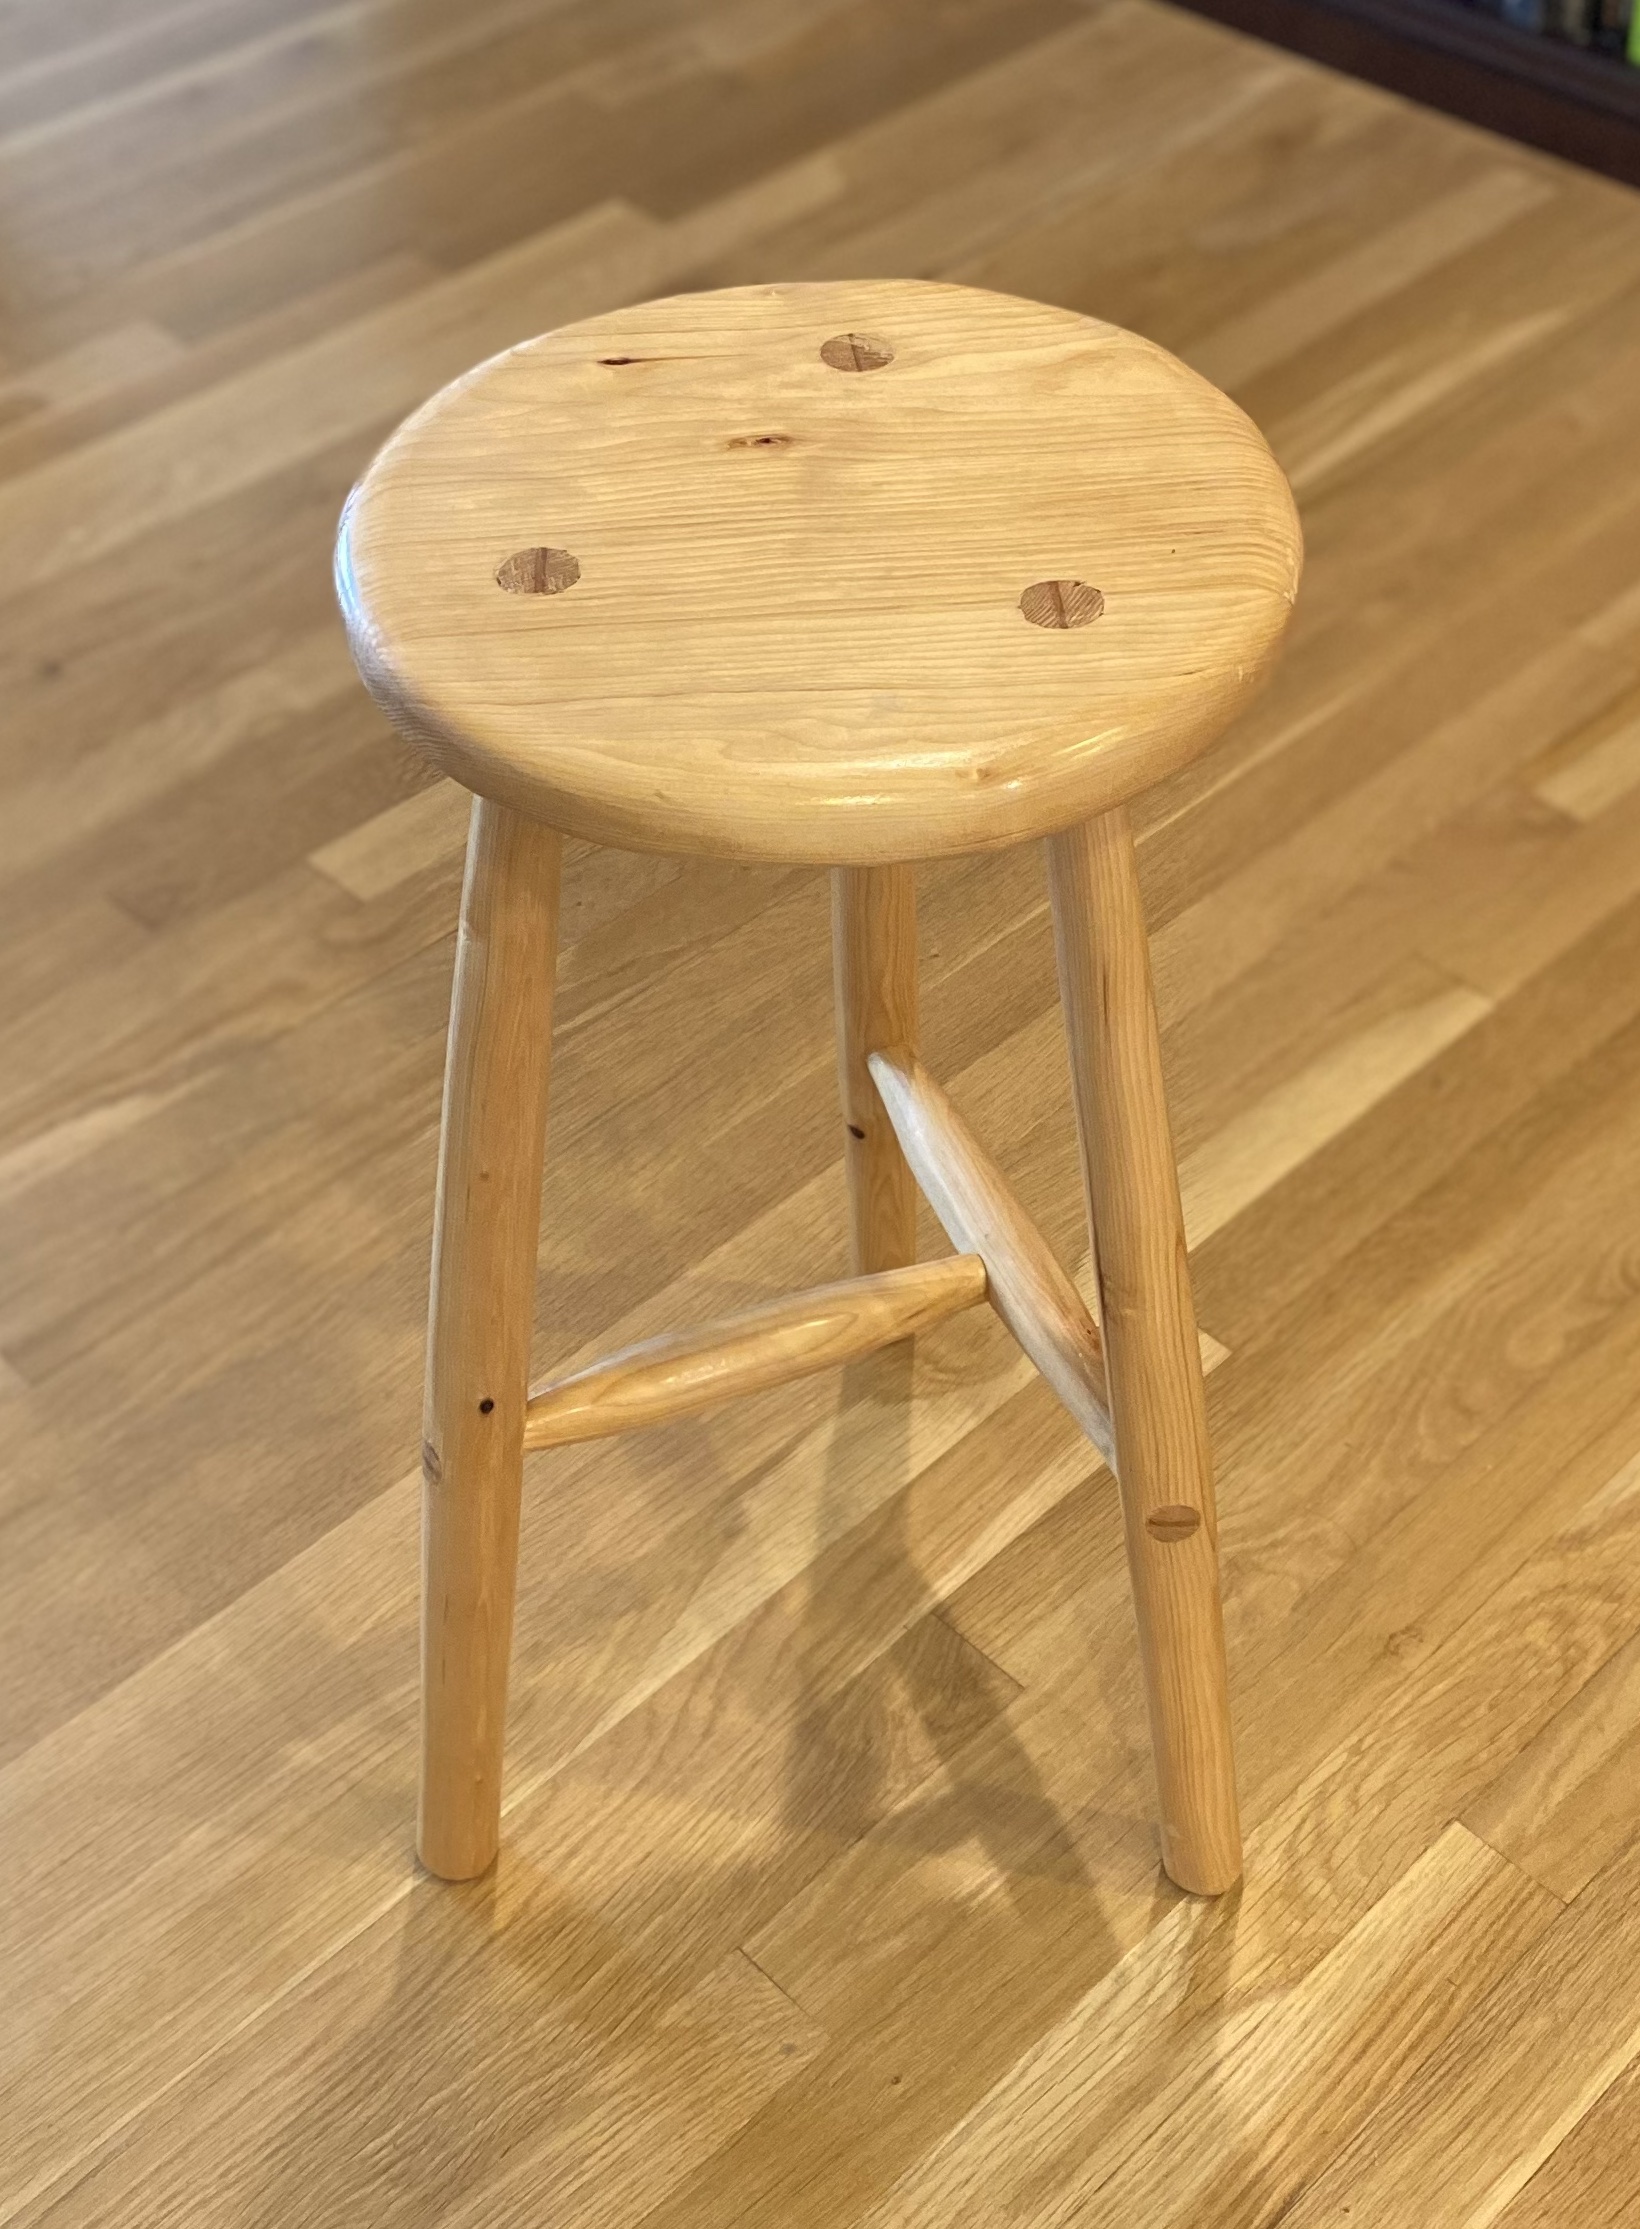
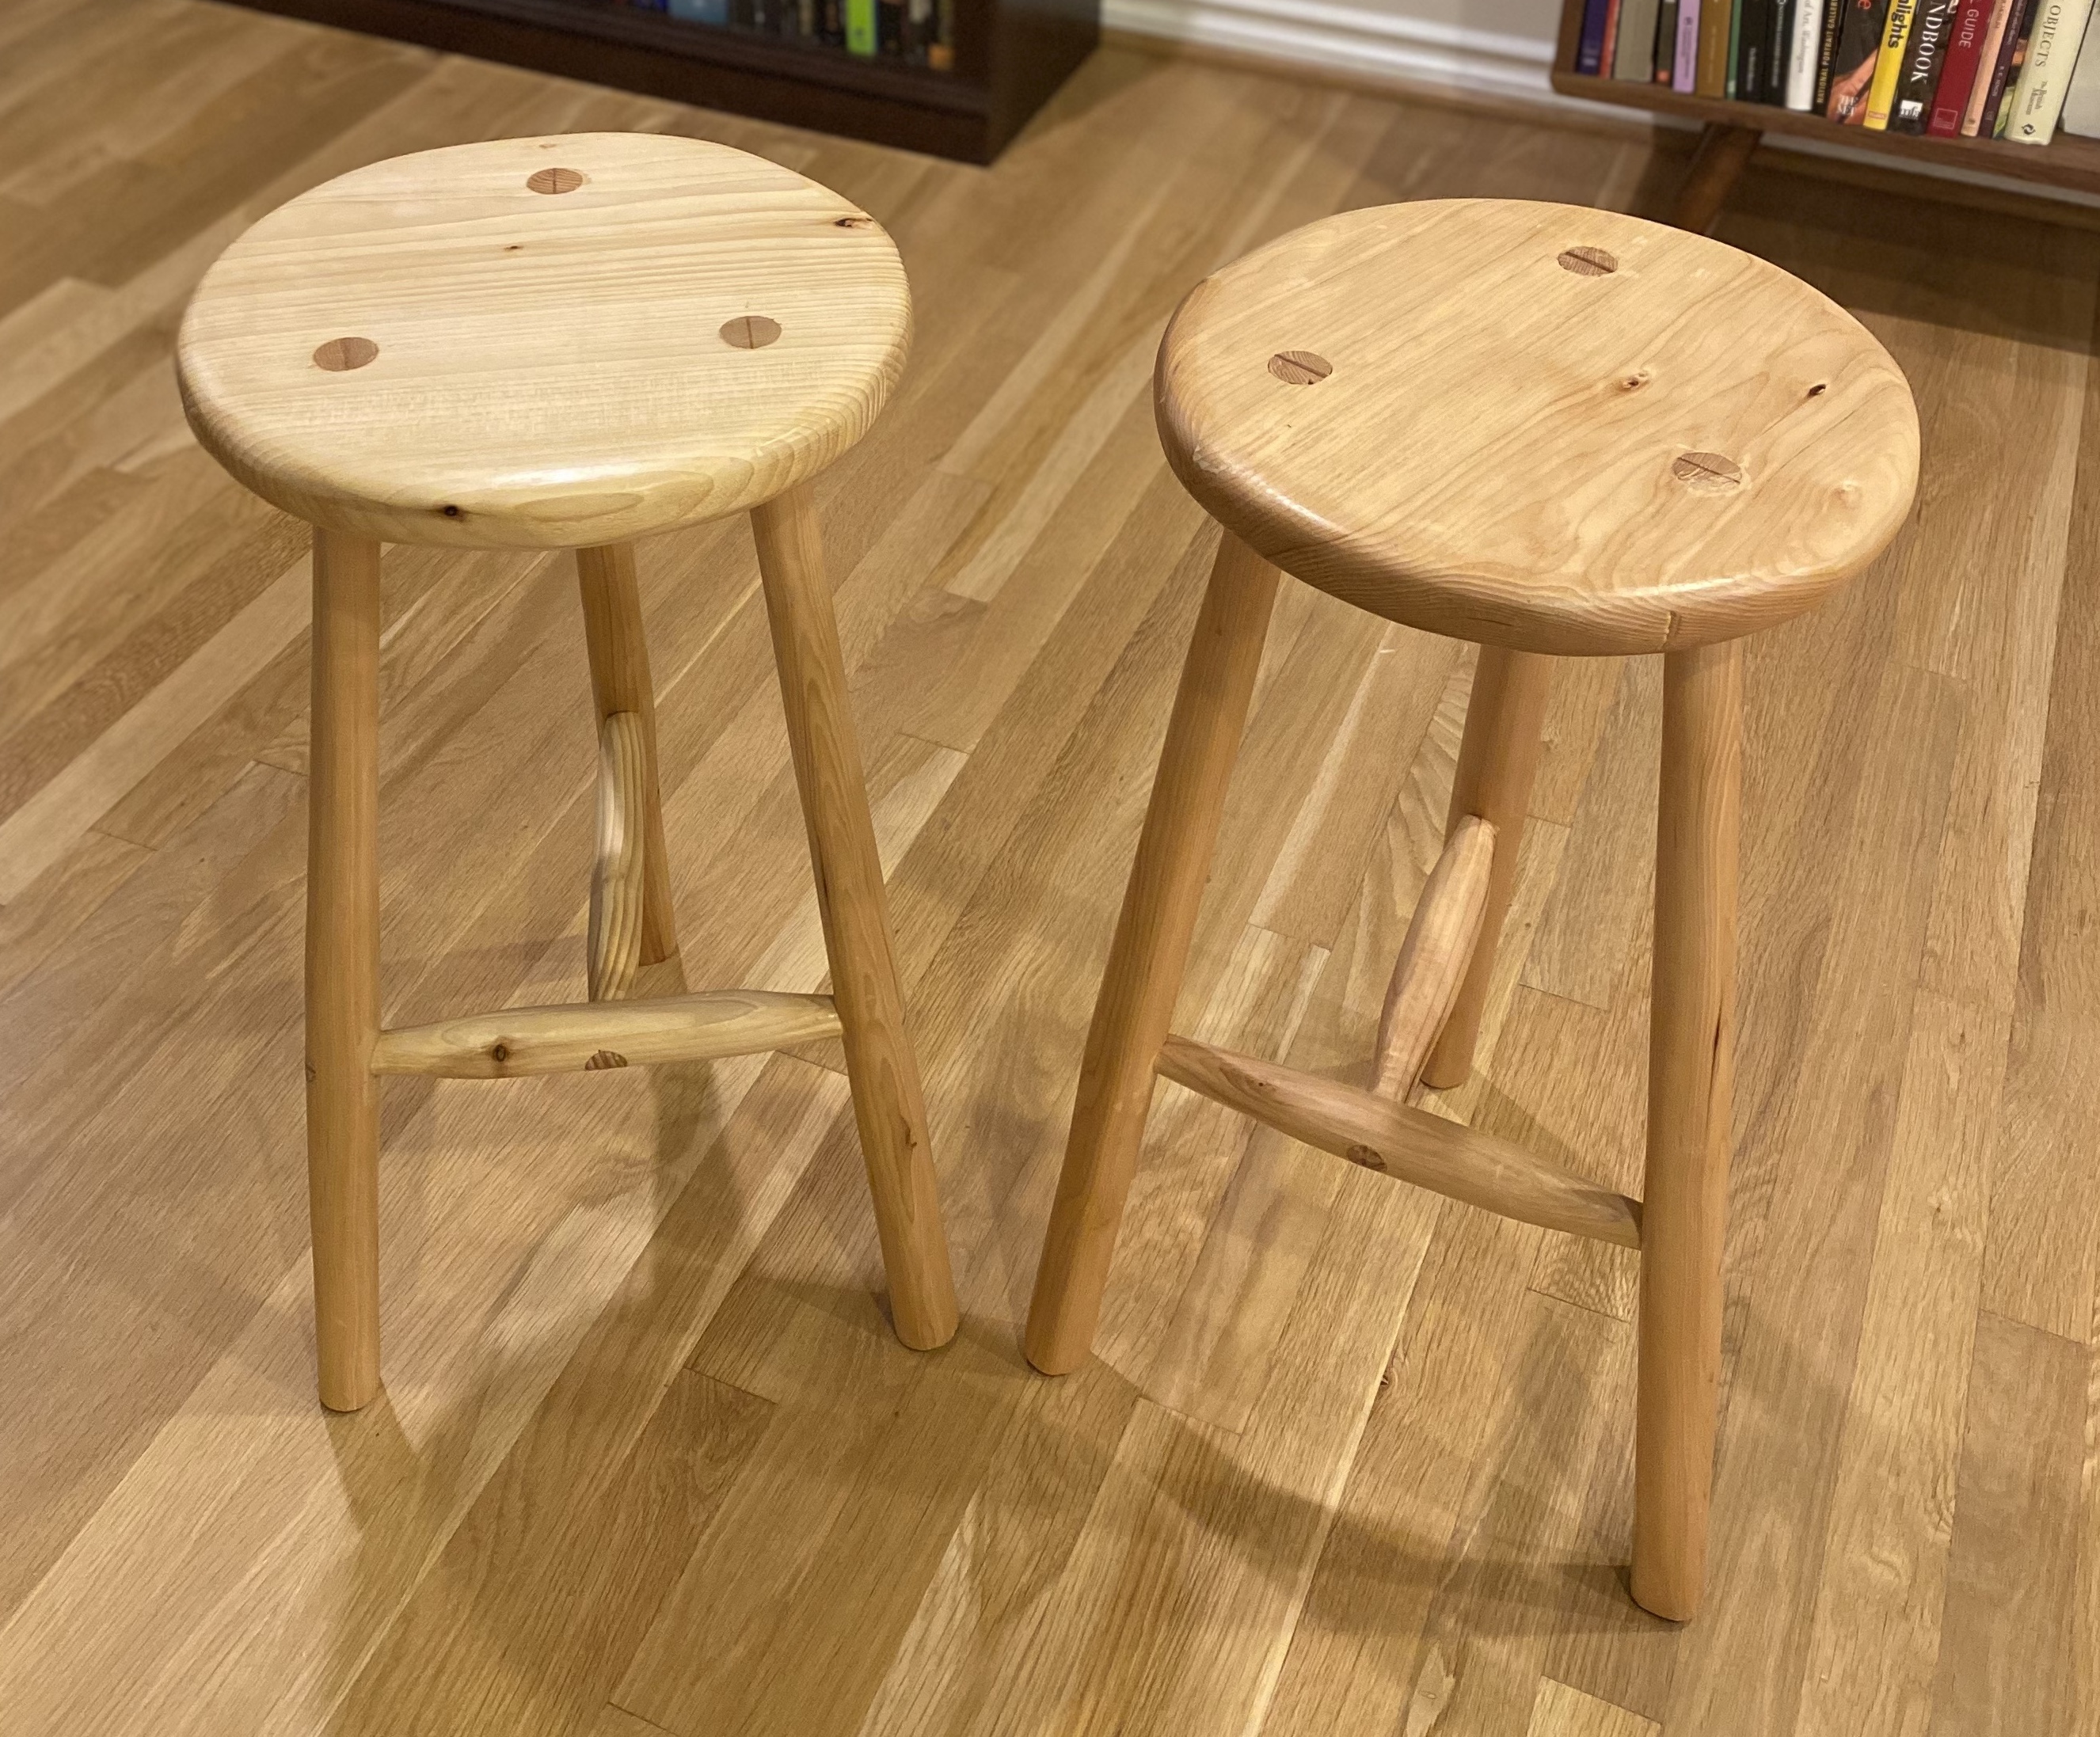
Three-legged bar stools
Our three-legged bar stool project is a combination of two tutorials - Rex Krueger’s Modern Stool video and Paul Sellers’ Three-Legged Stool tutorial. We used the techniques from both videos to create our own version of a three-legged bar stool. The top circular seat and the rounded tapering legs are from Paul Sellers’ tutorial, and the stretchers are from Rex Krueger’s video.


We made these stools using soft woods, mostly Douglas Fir. The seat is 12 inches in diameter, and the legs are built to match the height of our kitchen island. The nice thing about three-legged stools is that they are self-leveling, so they don’t wobble on uneven floors.
The seat
The seat required the most planing (yes, I mean planing and not planning). We first joined two boards to make a 12-inch-wide board. Due to a fair bit of warping in the boards, we spent a significant amount of time planing the seat to make it flat. If you flipped the stool over, you might even notice the point where we decided that the bottom was flat enough and no one would see it anyway. We used a hand brace and a 1-inch auger bit to drill three holes in the seat for the legs. The holes need to be angled out slightly so that the legs splay out a bit. To get the seat round, we first used a saw to cut the corners off, then a chisel to get the rough round shape, then a rasp to get it closer to round, and finally a spokeshave to get it smooth.
The legs
Each leg was made from a 2x2 piece of Douglas Fir. We first ripped a 2x4 into two 2x2s. At its widest point, the leg is roughly 2 inches in diameter. We first used a plane to get the legs to a rough round shape, 1 inch in diameter at the top and 1.5 inches at the bottom. We then used a spokeshave to get the legs to their final shape. We made a small jig with a 1-inch hole to help us get the legs to the right diameter for the side that goes into the seat. Finally, we used the brace and 1-inch auger bit to drill a hole slightly towards the bottom of the wide middle part of the leg. This is where the stretcher will go. Drilling this hole was a little tricky because the legs are already so narrow. A couple good legs were lost in the process. The tops of the legs are split down to about 1 inch in depth to add a wedge during the assembly process to create a tight fit.
The stretchers
The stretchers are also made from 2x2 Douglas Fir. At its widest point, each stretcher is 1.5 inches in diameter. At either end, it tapers down to 1 inch in diameter. We used a plane to get the stretcher to a rough round shape, then a spokeshave to get it to its final shape. One of the stretchers attaches to the middle of the other stretcher. The ends of the stretchers are also split down to about 1 inch in depth to add a wedge during the assembly process.
The assembly
The assembly for the stool was tricky as it requires many pieces to fit into each other at the right position and length. We did multiple dry assemblies first to get everything in the right position. We first attached the legs to the stretchers. Then, the legs as one piece was attached to the seat. The ends of the stretchers were glued in place along with a wedge to keep it tight. The legs were then glued into the seat. Three wedges were added to the top of the seat, one for each leg. The extra length of the stretchers and legs were cut off, and the stool was sanded to a smooth finish. We used shellac to finish the stool.
Final thoughts
This project took a lot longer to complete than expected. Not that we needed to spend a long time working on the stools, but that we made one stool and just left the project on hold for a while. We finally got around to making the second stool months later. I would say Gavin and my efforts on this stool were about 60/40. I generally prefer to work on smaller and finer projects. Although now we have a nice pair of bar stools that we can use at our kitchen island.